H+H Technical Manager answers some commonly asked questions on this tricky subject
For the full information on renders and aircrete, download our technical guidance document on the subject here. The following is a summary of answers to the most commonly asked questions.
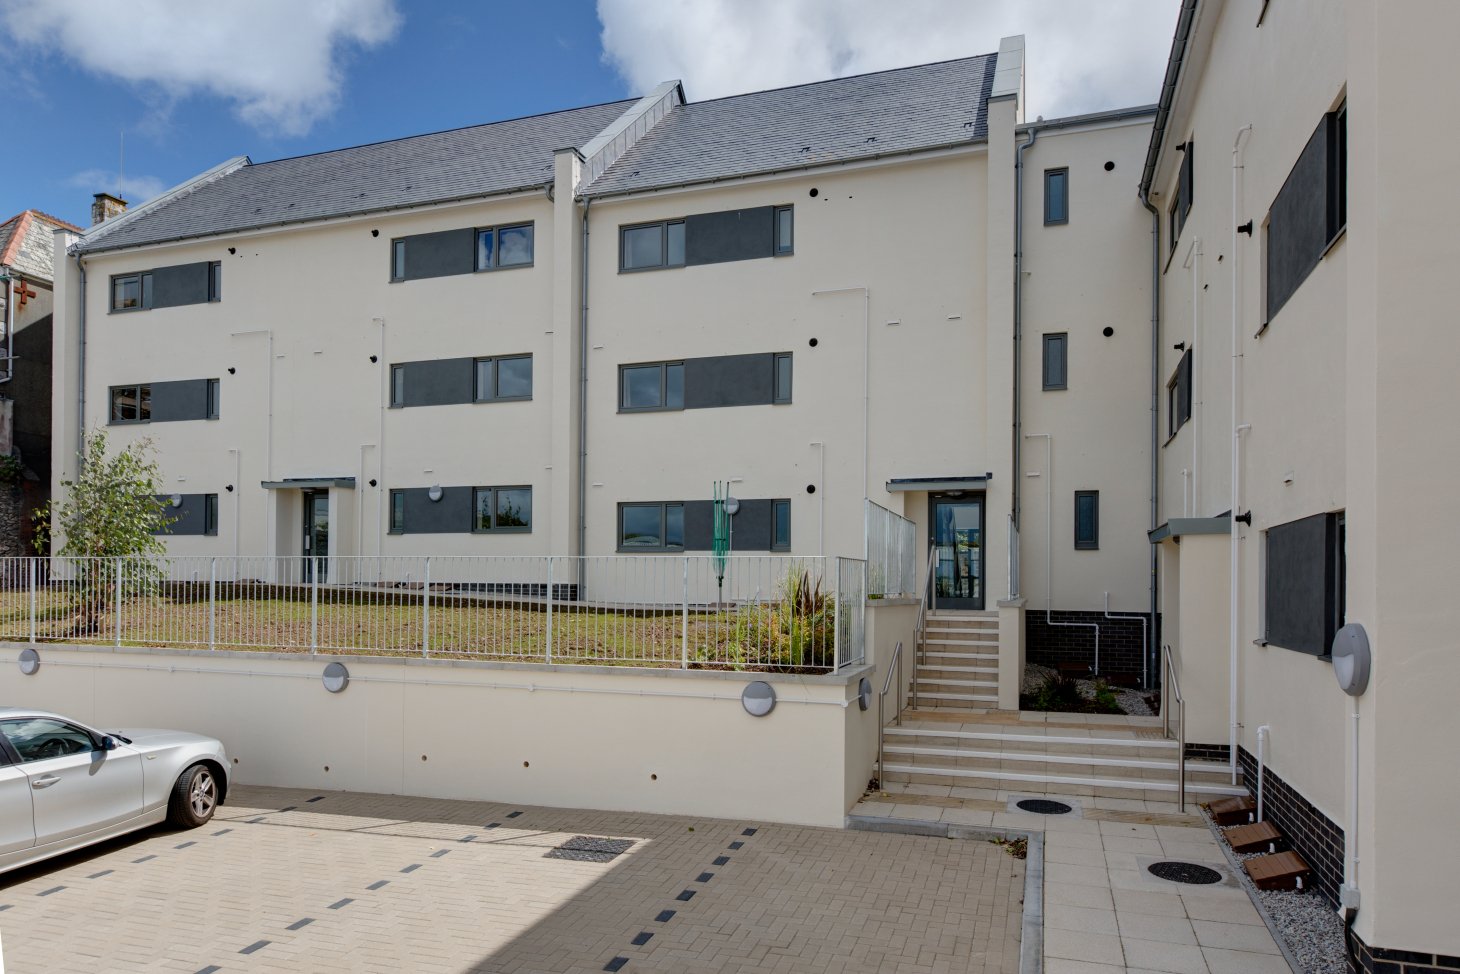
External render finishes are growing in popularity as an alternative to brick, and with H+H Celcon blocks commonly used to build extensions or whole buildings it seems sensible to know how to apply external render to them.
Our blocks can easily be externally rendered as part of a cavity wall outer leaf or as a solid wall. They can take both traditional renders when applied direct to surface and a range of third party render systems will also work well, provided they are applied according to manufacturer’s guidelines.
Preparing the wall surface
Before applying anything, it is extremely important to make sure your completed wall is free of any dust, loose mortar and contamination. Also, we recommend that mortar joints be raked by 10 - 15mm as you build the wall. This is to provide a good key for the render.
However, if building with thin-joint mortar, this is not possible and a surface treatment should be used similar to one detailed below for high suction situations.
For high suction situations, especially during warmer weather, and to improve the key for coats later on we recommend using a ‘stipple’ coat or ‘spatterdash’ as a surface treatment. This should consist of 1 part cement to 2 parts sharp sand with water and a bonding agent suitable for use outside (such as SBR, EVA or acrylic emulsion) mixed to form a thick creamy consistency.
Render mixes
When using traditional render mixes they should be stopped at DPC level. For the exposed aircrete up to 150mm below DPC you should use a bituminous paint suited to outside use. Any movement joints in the wall should be continued through the render finish.
Traditional sand:cement render mixes should never be stronger than the backgrounds onto which they are applied. Each coat of render should also be weaker than the one before it. This is easily done by using the same render mix, just applying it in thinner layers. You must make sure sand used in this process is clean, sharp and well graded.
Don’t be tempted to use sand normally used for brick/block laying as it will be too fine. Generally, two coats will be fine for most walls with three only needed for extremely exposed walls. Just using one coat will not be enough.
Applying render
When you come to put on the undercoat it needs to be about 12mm thick and combed or scratched to give a key for the following coats.
Make sure these scratches are wavy and not straight as this can cause cracking later on. As with surface treatments, keep the undercoat damp to start with for a day or two and then allow to dry out for a further two to three days.
When applying the final coats, make them about 6mm thick. Finish this off with a wooden float, rather than a steel trowel or float, until you get the texture you want.
Dry dash and roughcast finishes are not really suitable for use with aircrete unless the correct strength render mix is used or reinforced render system adopted.
Finally, a common misunderstanding with Celcon blocks is that the scratched surface seen on some of them is there to provide a key for render. This is not true at all. The only reason these scratches appear is because of different cutting processes used at our different factories.
If you do come across our blocks with scratched surfaces, remember, the scratching makes no difference to applying render and they have exactly the same properties as plain faced ones.
If you need any further information on this, or any other technical issue, then contact H+H on 01732 886444.